
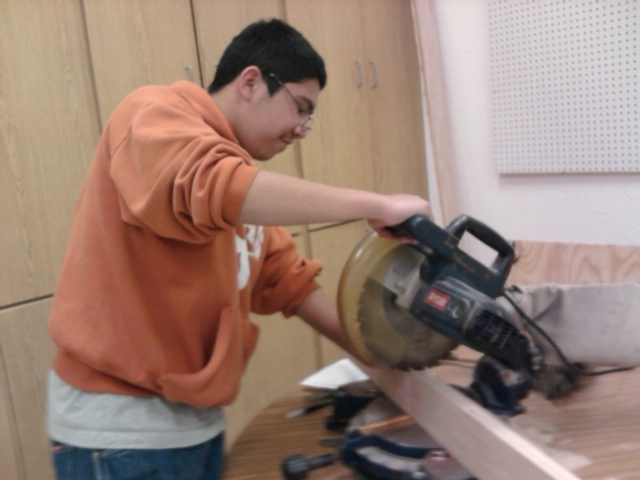
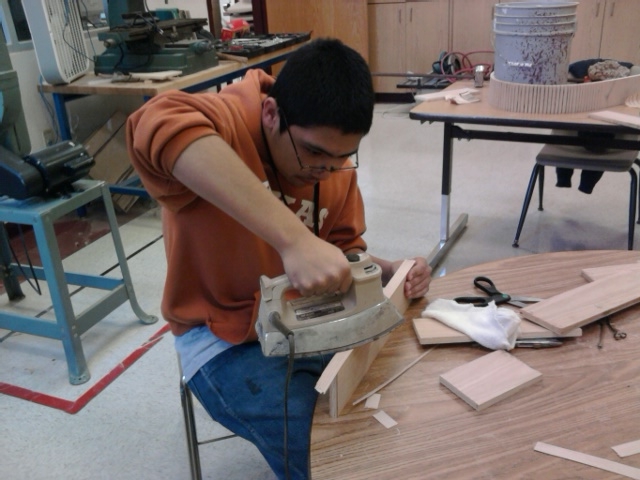
I cut the parts of the Organizer. (Ryan in picture)
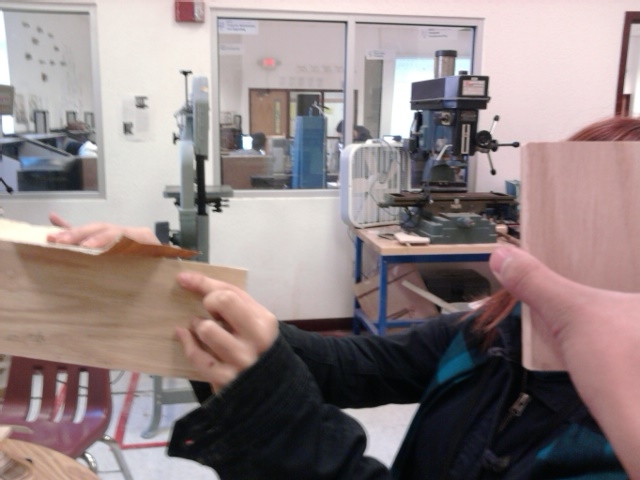
Edge banding
I iron on the edge banding then cut the extra
banding.
Sanding
I sand the edges of the wood to make them smoother
and easier to work with.
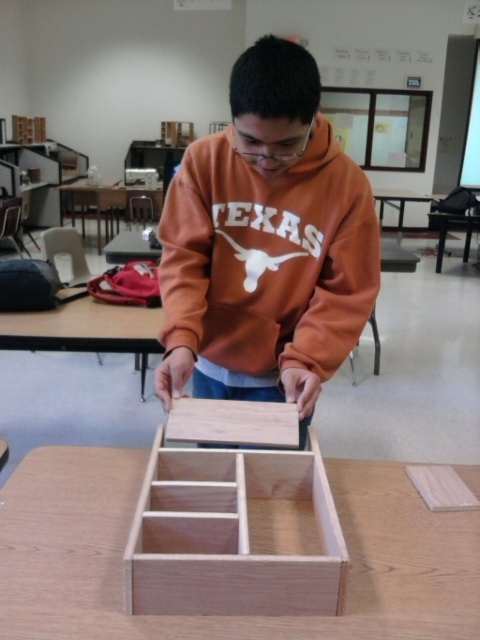
Assembly
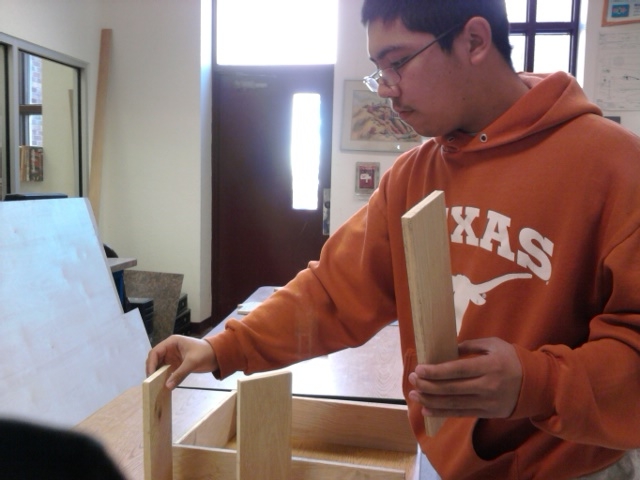
I then assemble the parts together by gluing
and nail drilling the wood together.
Finishing
I will give my organizer some color but
first I must fill in the drilled holes. For that I must put wood filler
that has been mixed with the paint I will use
on the holes. Afterwards, I will put a coat of paint, sand it down and
repeat the
process three times in total to get a beautiful
gloss shine on the organizer.